Web Development Series

THIS PAGE IS UNDERGOING CHANGES - PLEASE RETURN SHORTLY

Onine Web Development Series

We have adapted the material created for our Robotics Club for anyone to work through at home or in school.

Each of the below sessions include a video lesson from one of our staff and a set of exercises to assess your understanding. As this page is for independent learners, answers are included.

Please select a session heading to get started.

Video Lesson

Using Trinket

You will need to create a free account (or sign in using Google) on Trinket to save your work.

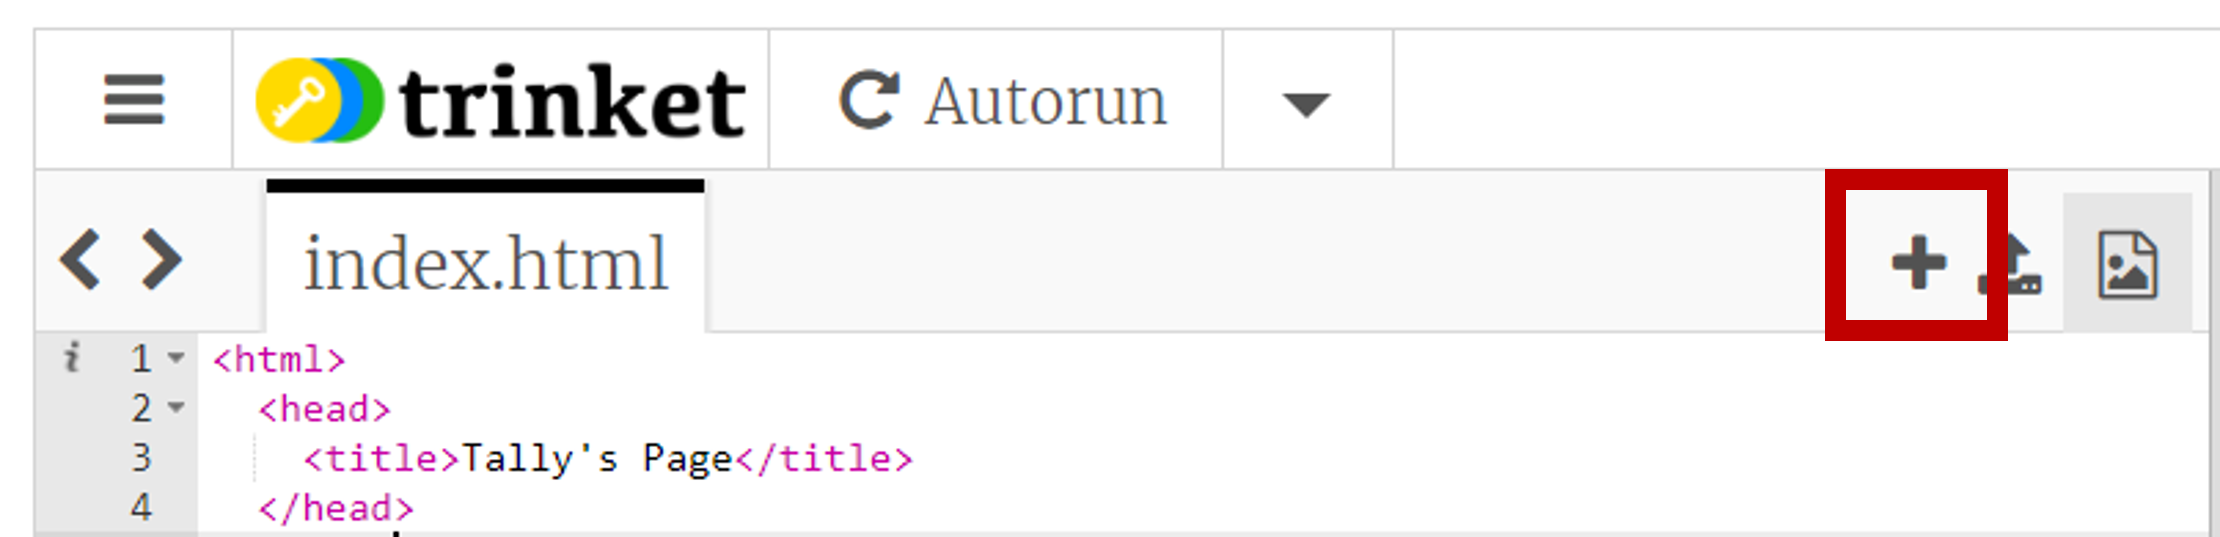
We have created a Trinket template which you can remix to use as the basis of your own Trinket project.

Exercises

Over the course of these sessions, we shall help learners develop their own webpage about the design created during our 3D Design topic.

This session shall look at how to format text using the HTML tags covered in the above video lesson.

We have created three levels (bronze, silver, and gold) of challenge for learners to start creating a webpage in Trinket.

All learners should start with the bronze level and work their way up as far as they can.

Click on each challenge heading to expand.


Using the template provided above, add the following.

  1. Create a title for your design blog webpage.

  2. Inside a new pair of division tags, write an introduction about yourself using paragraph tags where needed.

    Tip: Remember to be careful of the information you include on a webpage. Try to write it without using your name, school, or anything else that will help identify you.


  3. Create a new section (using new division tags) about your 3D design. Write how you designed it, what components are included and what the robot should be able to do using these.

  4. Add an image of your design inside a new pair of division tags.


  1. Create a new section for your webpage where you will analyse and evaluate your design. This should include what went well, what you would like to change (and why) and what you've learnt whilst creating this design.


  1. Add another section to your webpage about other things you've learned this year. Which topic was your favourite? Why? What have you enjoyed learning? Do you plan to use these skills for other projects/careers/education?


  1. Add more images to your webpage.

  2. Add links to both the Robotics Club (https://aberrobotics.club) and Outreach (https://fbaps-outreach-hub.dcs.aber.ac.uk) websites in an additional information section.

  3. Make sure you have a sub-heading in each section of your webpage.

  4. On a piece of paper, start planning how you want each of your sections positioned on the page ready for the next session.

Video Lesson

Adding CSS to Trinket

In the above video we used JSFiddle software to demonstrate how CSS works. In Trinket, we will need to add the styling sheets manually and connect them to your HTML files using the steps giving below.

  1. Open the html developed last session inside Trinket.

  2. Click on the plus symbol on the Trinket toolbar to create a new text file.

    A screenshot of the Trinket toolbar with the plus icon highlighted.

  3. This creates a new tab on your Trinket. Name it: style.css

    A screenshot of the new style.css tab on Trinket
  4. This new file is where you will include all the CSS for this session's exercises. Now, we need to link it to the HTML.

  5. Click on the index.html tab to return to your HTML file. Inside the head tags, after the title, add this:
                  
      <link rel="stylesheet" href="./style.css">


Exercises

This session shall look at how to apply CSS styling to your webpage.

Please try to complete all challenges (excluding extensions) from the last session first.

We have created three levels (bronze, silver, and gold) of challenge for learners to create their own webpage using Trinket.

All learners should start with the bronze level and work their way up as far as they can.

Click on each challenge heading to expand.


  1. In the CSS file, add background and text colours to the body tag.

    For example:

                      
        body {
          background-color: black;
          color: white;
        }


    You can visit W3 Schools colour chart for the full list of colour names available.


  2. Have the largest heading (h1) styled with a different background and text colour.


  1. Add classes to the different division tags (<div></div>) in your HTML and then apply your own styling to each section.

    Adding a class to HTML tags

                      
        <div class="introSection">


    Creating the CSS for a class

                      
        .introSection {
          background-color: black;
          color: white;
        }


    You can find out more about styling text - such as underlining and changing fonts - on W3 Schools. Check out the CSS Text and CSS Font sections on the left-hand menu.


  1. Create and use a CSS grid to organise your webpage. This session's video demonstrates two approaches to this challenge - columns or a custom grid. See below reminders.

    Example CSS for Two Columns:

                      
        .twoColumnGrid {
          display: grid;
          width: 100%;
          grid-gap: 1%;
          grid-template-columns: 49.5% 49.5%;
        }


    Example CSS for a Custom Grid:

                      
        .blogGrid {
          display:grid;
          width: 100%;
          grid-template-areas:
          'area1 area1 area1 area1'
          'area2 area2 area3 area3'
          'area4 area4 area4 area5';
          grid-gap: 1%;
          grid-template-columns: 24% 24% 24% 24%;
        }
    
        h1 {
          grid-area: area 1;
        }
    
        .introSection {
          grid-area: area2;
        }
    
        .images {
          grid-area: area3;
        }


Explore other CSS options and ideas on W3 Schools and have a go at the below challenges.

  1. Can you have a background image instead of a colour?

  2. Have any links show as a different colour when the mouse hovers over them.

  3. Add a text shadow to you h1 tag.

  4. Curve the corners on your images. Can you make it so only two corners are curved?

Video Lesson

Adding JavaScript to Trinket

Follow the below steps to create and link a JavaScript file to your webpage.

  1. Load your website in Trinket.

  2. Add a new text file, using the same plus icon we used last session to add a CSS file.

  3. Name the file script.js

  4. Return to your HTML and add the below line inside the <heading></heading> tags
                
      <script src="./script.js"></script>            


Exercises

This session shall look at how to apply buttons and JavaScript to your webpage.

We have created three levels (bronze, silver, and gold) of challenge for learners to create their own webpage using Trinket.

All learners should start with the bronze level and work their way up as far as they can.

Click on each challenge heading to expand.


  1. Add two buttons to your webpage. One should link to the Aber Robotics Club Website (https://aberrobotics.club), the other to the Outreach Hub (https://fbaps-outreach-hub.dcs.aber.ac.uk).


    • You could use the attribute tags (<a></a>) in HTML or a JavaScript function.

  2. Use CSS styling to decorate and position your buttons.


  1. You will need more than one image of your design for this exercise. We would recommend having at least a front and a side view of your robot.

    Add buttons near your image to change which picture shows.

    Tip: Try to make sure the images are the same size to make the change overs smoother.


  1. Can you make your webpage have at least one collapsible section that can be revealed/hidden using a button?

    Tip: You will need to include an if-else statement in a JavaScript function for this.


Explore the JavaScript section on W3 Schools for ways to do the following.

  1. Adding a date and time stamp to your webpage.

  2. Have a window alert about leaving the page when clicking on a button linked to another website.